These instructions will show you how to use an S/MIME certificate installed on a YubiKey to send signed and/or encrypted email in Outlook on Windows.
Note: These instructions assume that you have installed an encryption-enabled S/MIME certificate in the Key Management slot (9c) of your YubiKey. If you have not done so already, please refer to our how-to covering this operation.
Configure Outlook
- First, make sure that all necessary supporting certificates (intermediate and root) are installed on your system.
- With your YubiKey inserted in the computer, launch Outlook.
- Click File, at the upper left in the menu.
- Click Options.

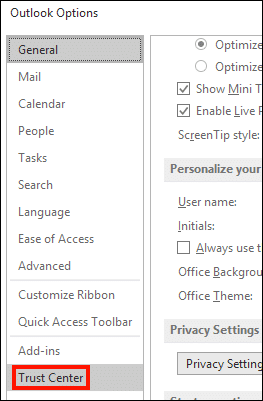
- The Outlook Options window will open. Click Trust Center.
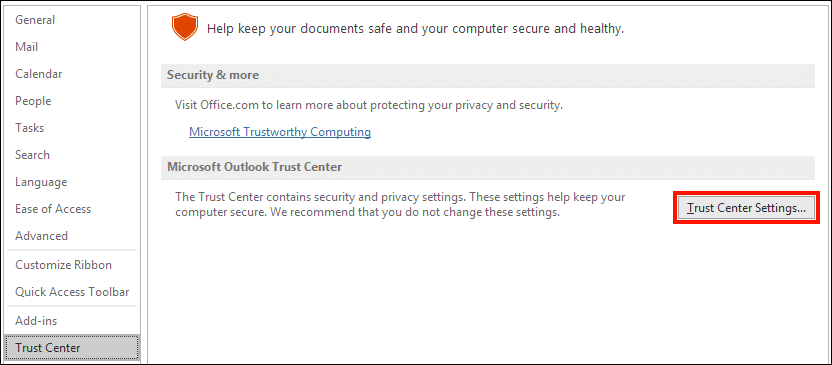
- Click the Trust Center Settings button.
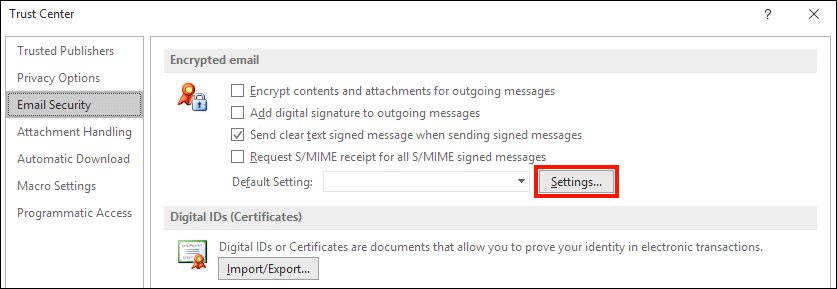
- Click Email Security.
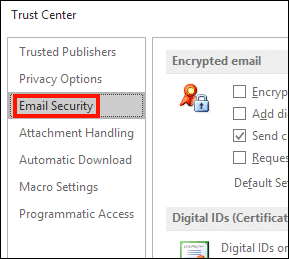
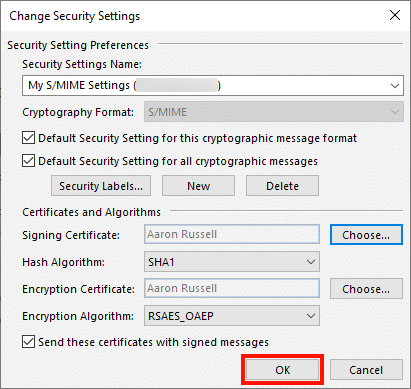
- Click Settings…
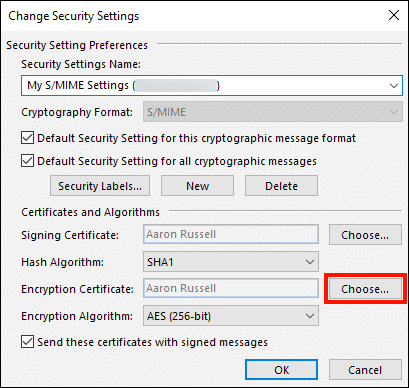
- Click the Choose… button, to the right of Encryption Certificate.
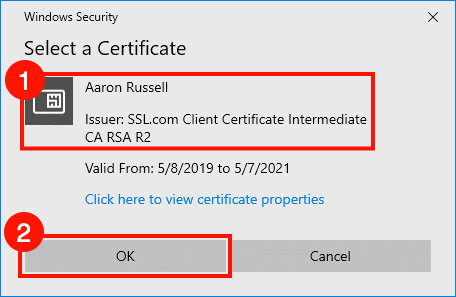
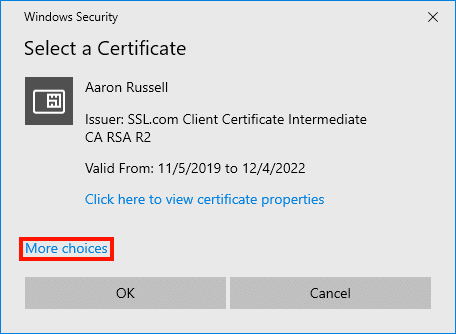
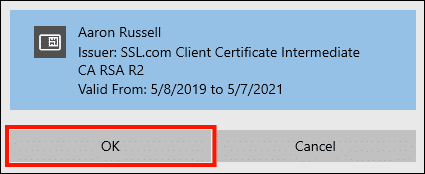
- Select a certificate for encryption (note that in the image below, only one encryption certificate is available). Verify that the Subject Name is correct, and that the Issuer is
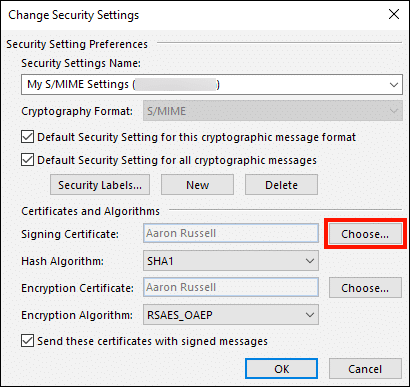
SSL.com Client Certificate Intermediate CA RSA R2. For a certificate on a smart card, you should see the icon shown below to the left of the certificate information, as shown in the image below. You can also check the certificate’s validity dates against the certificate order in your SSL.com account, or get more information (such as the certificate’s serial number) by clicking Click here to view certificate properties. When you are sure the certificate is correct, click OK. - Next, click the Choose… button to the right of Signing Certificate.
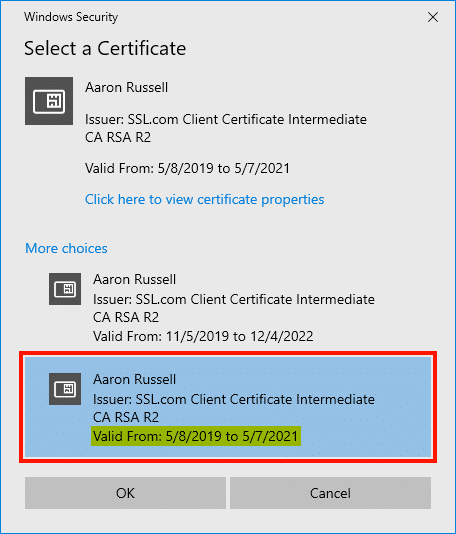
- If you installed an S/MIME certificate on a YubiKey with other certificate(s) installed, as shown in our how-to, there may be more than one signing certificate available. For simplicity’s sake, we suggest selecting the same certificate for both encryption and signing. If the More choices link is shown, click it.
- As can be seen in the screenshot below, both certificates on the smart card share the same Subject Name and Issuer. However, the validity period of the second certificate shown matches the encryption certificate we selected above, so we’ll pick that one for signing too.
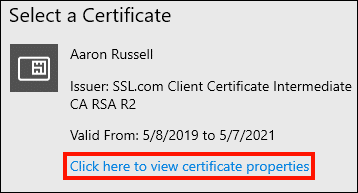
- If it’s not that easy to tell the difference between the certificates, you can get more information by selecting a certificate and then clicking Click here to view certificate properties.
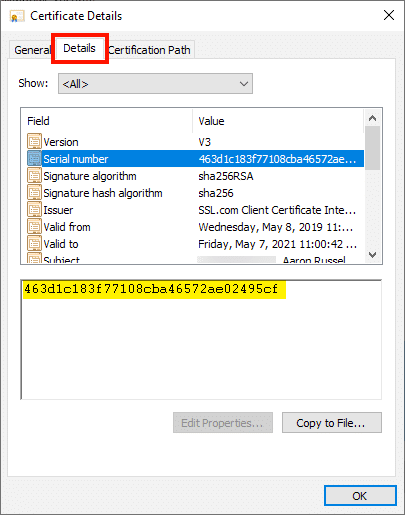
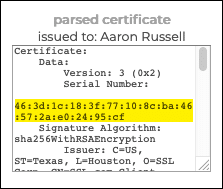
- By clicking the Details tab, you can view information about the certificate and compare it with information in your SSL.com account. For example, below we can see that the serial number matches the parsed certificate as shown in SSL.com’s details for the order.
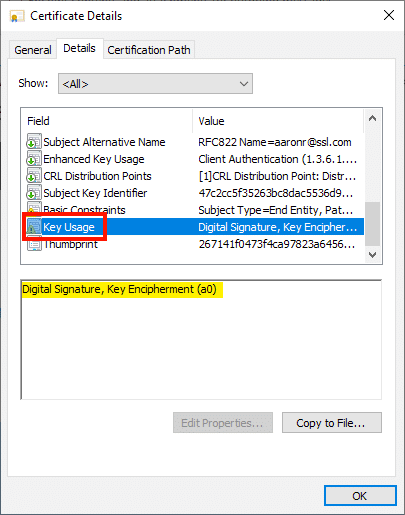
- You can also get useful information about the certificate by clicking Key Usage. Because this certificate includes Key Encipherment, we can deduce that it is the same one shown by the system as an available encryption key. When you are done getting information about the certificate, close the Certificate Details dialog box by clicking the OK button.
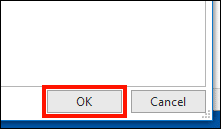
- When you’re finished selecting a signing certificate, click the OK button.
- Click the OK button to close the security settings dialog box.
- Click the OK button to close the Trust Center window, then click OK again to close the Outlook Options window.
Sign and Encrypt Email in Outlook
- Now we’re ready to start sending signed and encrypted messages. Start by creating a new message in Outlook.
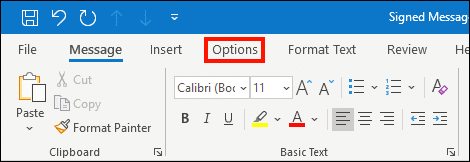
- Click the Options tab.
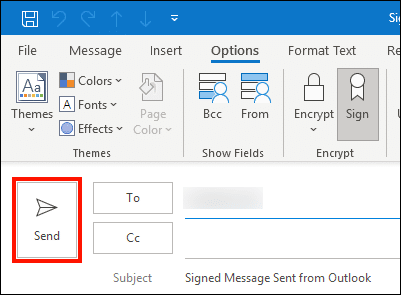
- Click Sign.
- Click the Send button to send your message. Note that Sign is highlighted in the ribbon, but Encrypt is not.
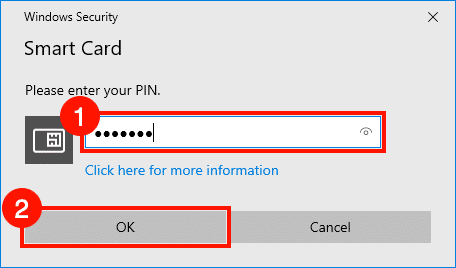
- You will be prompted for your YubiKey PIN. Enter the PIN and then click the OK button. If you need help finding your PIN, please read this how-to.
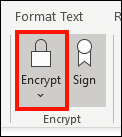
- To send an encrypted email message, click Encrypt, located to the left of Sign on the ribbon’s Options tab.
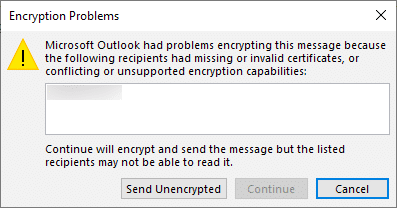
- Note that if you do not already have your recipient’s S/MIME certificate with their public key, Outlook will display an error message if you try to send them an encrypted message. If a person sends you a signed email, Outlook will store their certificate so you can send them encrypted email in the future.
Thank you for choosing SSL.com! If you have any questions, please contact us by email at Support@SSL.com, call 1-877-SSL-SECURE, or just click the chat link at the bottom right of this page. You can also find answers to many common support questions in our knowledgebase.


