This guide demonstrates how to integrate SSL.com eSigner remote cloud signing service with Adobe Acrobat Sign to digitally sign an electronic document such as PDF.
There are two requirements to this guide:
- An SSL.com document signing certificate that has been enrolled in eSigner. Here is the guide on how to do it: Enroll with eSigner for Remote Document Signing. SSL.com Document Signing Certificates that can be enrolled in eSigner and used on Adobe Acrobat Sign include Individual Validation (IV) Certificate, Organization Validation (OV Certificate), and Individual Validation+Organization Validation (IV+OV) Certificate.
- An Adobe Acrobat Sign plan. Please refer to Adobe’s contact page for more details.
Steps:
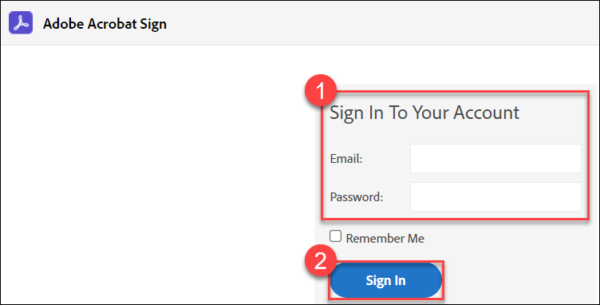
- Login to Adobe Acrobat Sign.
- Click the Account tab on the top menu.

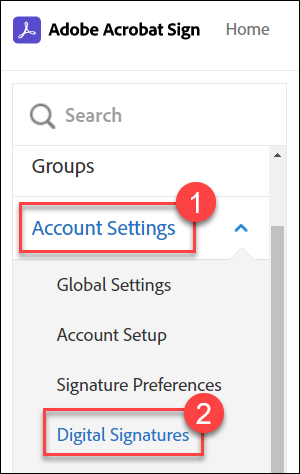
- Click Account Settings on the left bar, followed by Digital Signatures.
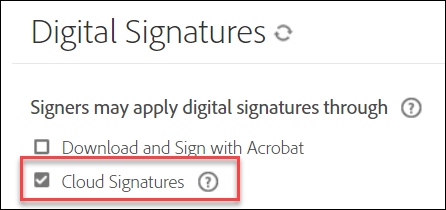
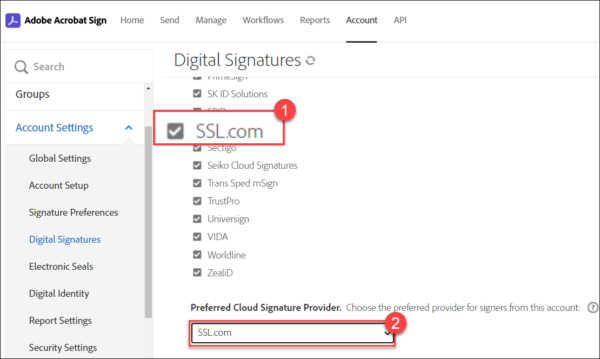
- Tick the box for Cloud Signatures. Adobe will present a list of Cloud Signature Providers that are trusted by default, including SSL.com. Double-check that the box for SSL.com has a check mark and then scroll down the page to the subsection named Preferred Cloud Signature Provider. Click the drop-down arrow and select SSL.com.
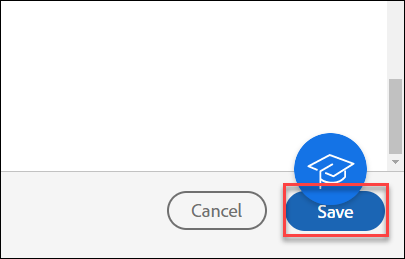
- Scroll down to the bottom of the page and click the Save button.
- Click the Home tab on the top menu.
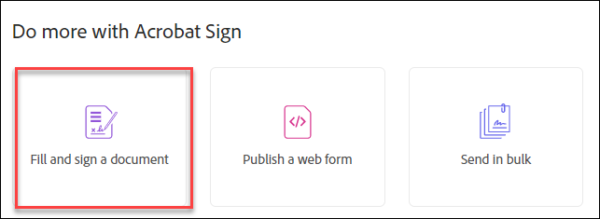
- Scroll down to the subsection named Do more with Acrobat Sign and click the option for Fill and sign a document.
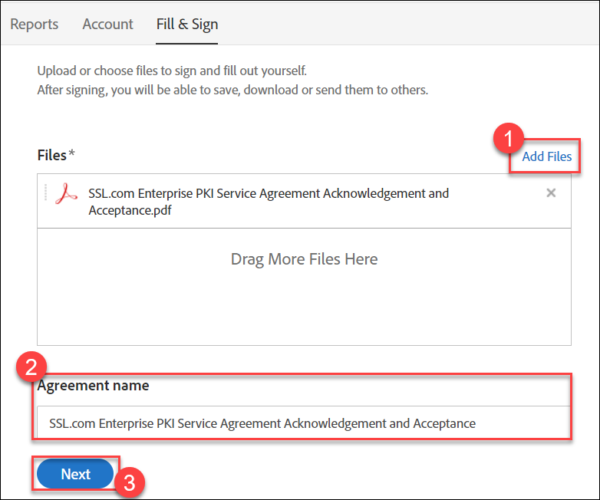
- Click the Add files link to select your document. Finalize the name for it and then click the Next button.
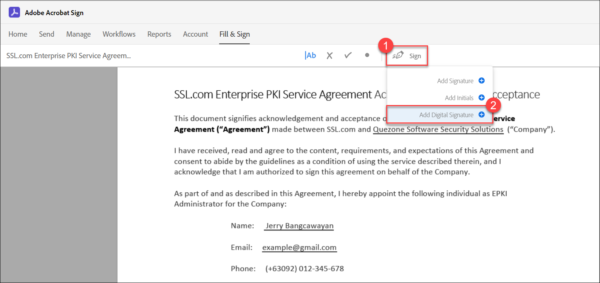
- After Adobe Acrobat Sign has uploaded your document, click the Sign button, followed by the Add Digital Signature option.
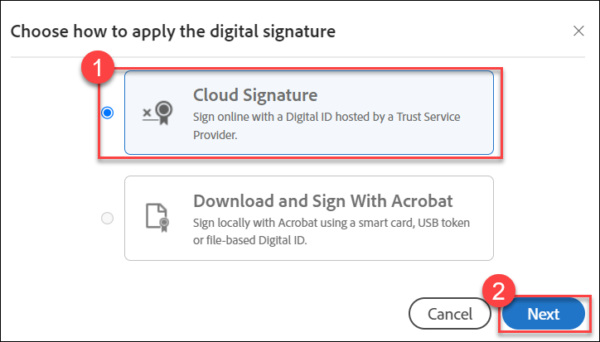
- A screen will appear allowing you to choose cloud signing or local signing. Choose Cloud Signature and click the Next button.
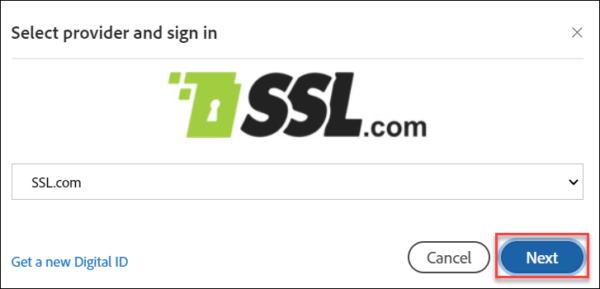
- Since SSL.com is your preferred cloud signature provider, it will show up as the default option. Click the Next button.
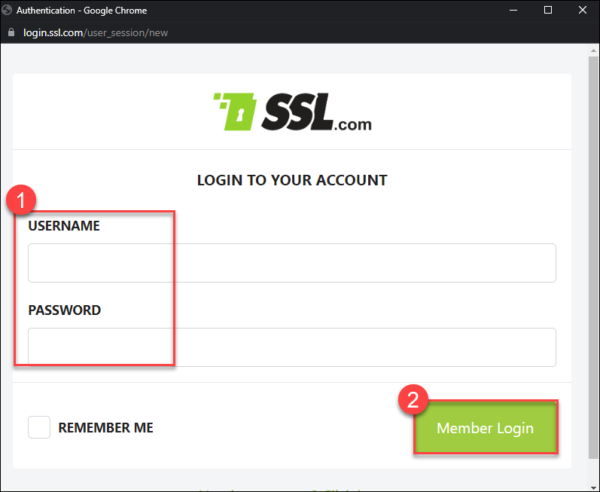
- A pop-up screen will appear asking for login credentials to your SSL.com account. Place your login details and click the login button.
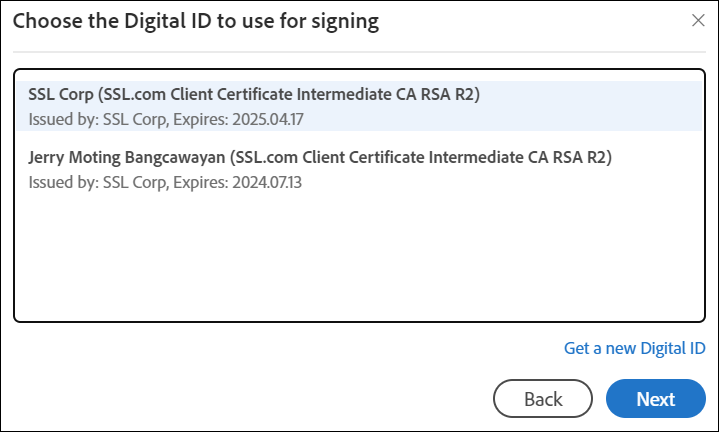
- If you have multiple SSL.com document signing certificates enrolled in eSigner, Adobe Acrobat Sign will prompt you to choose which one will be used to digitally sign the document. Click the name of the certificate you want to use to highlight and select it and proceed to click Next.
- Finalize your signature.
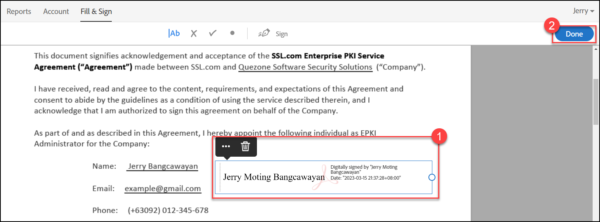
A preview of the digital signature will appear on Adobe Acrobat Sign screen. It will show your name as the signer and the date when you signed the document. You can drag the signature box to the part of the doc where you want it to appear. You can also click the circle on the right part of the signature box to increase or decrease the size of the signature. After finalizing the features of the signature, proceed to click the Done button.
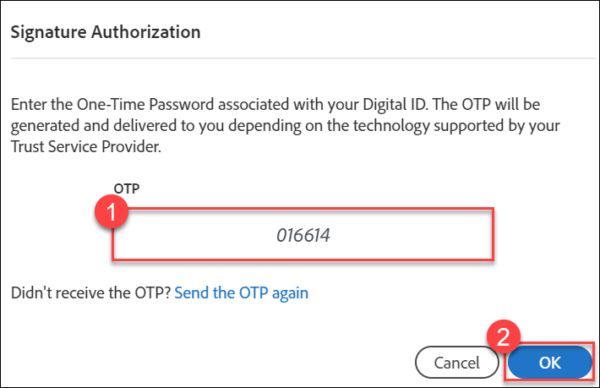
- Enter your eSigner One-Time Password (OTP).
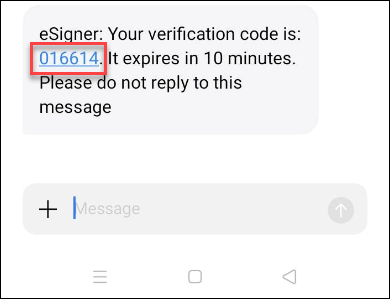
You will be prompted for a One-Time Password that is linked with the two-factor authentication method that you chose for your eSigner document signing certificate. In this demo, OTP SMS was chosen. Place the One-Time Password on the box and click the OK button.Note: Remember, you can also change your eSigner 2FA method to an Authenticator mobile app like Google Authenticator or Authy. For a guide on this method, please visit this article: Enroll with eSigner for Remote Document and EV Code Signing. - Success! Your document is now signed.
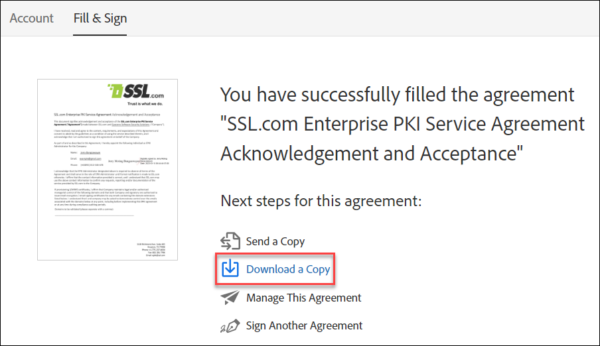
After a brief period of processing, Adobe Acrobat Sign will confirm that you have successfully signed your document using your eSigner certificate. Click the Download a copy option to view the digital signature on your file.
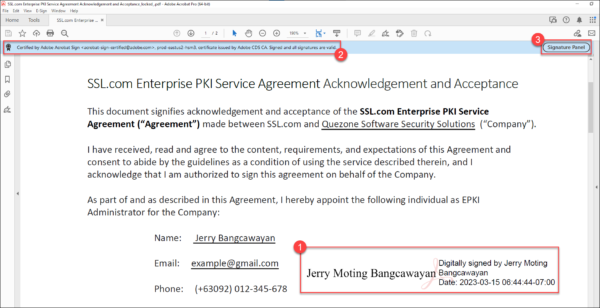
- View the digital signature on your downloaded file.
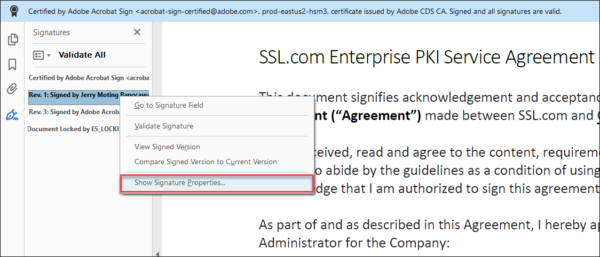
In this demo, Adobe Acrobat Pro was used to view the document. Upon opening the doc, you will see the digital signature that you have created. You will also see the message “Certified by Adobe Acrobat Sign. Signed and all signatures are valid.” Click the Signature Panel button to view the details of the digital signature.
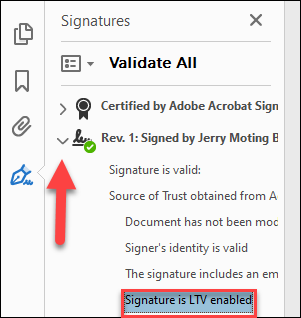
- Click the arrow beside your name to confirm that your signature is enabled for Long-Term Validation (LTV). Digital signatures produced from eSigner are PDF Advanced Electronic Signatures (PadES) compliant. This means that even if the SSL.com document signing certificate has long expired, the digital signature can still be determined to be valid during the time of signing through LTV.
- Right click the signature showing your name and then left click the option for Show Signature Properties…
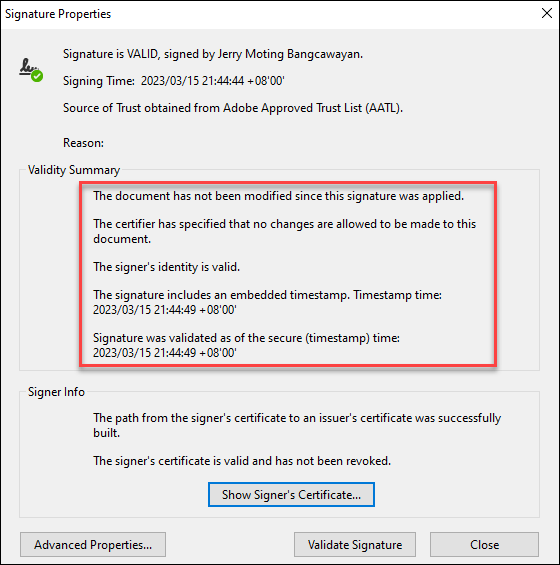
On Signature Properties, you will be able to see that Adobe Reader recognizes all the security features acquired from the signing process:
- The document has not been modified since this signature was applied.
- The signer’s identity is valid.
- The signature includes an embedded timestamp.
- Signature was validated as of the secure (timestamp) time.


