This how-to will show you how to use Yubico’s ykman command-line utility to install SSL.com intermediate and root certificates on a YubiKey with an SSL.com EV Code Signing or Business Identity certificate. This procedure may be necessary to avoid trust errors with signed documents and code on some computers.
SSL.com also recommends that you install these certificates in your signing computer’s certificate store.
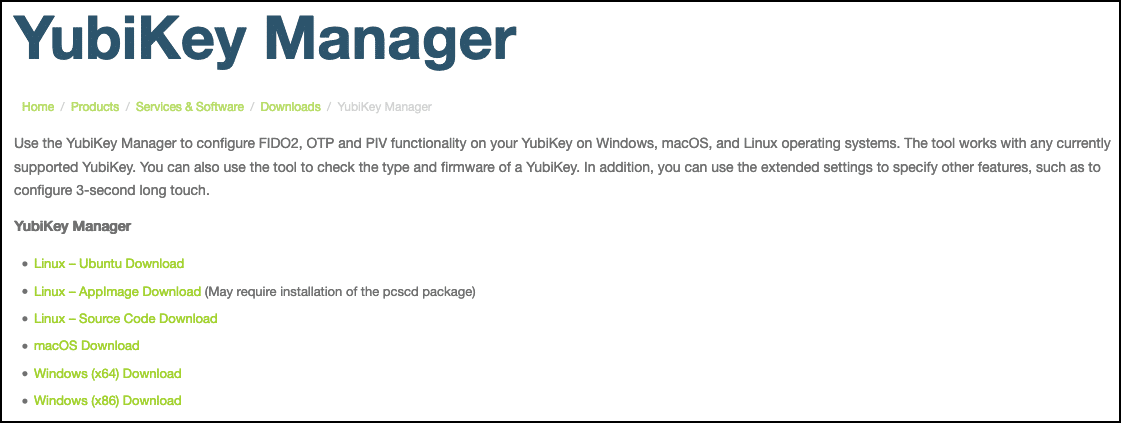
- Download and install YubiKey Manager from Yubico’s website. Versions for Windows, Linux, and macOS are available. In this how-to, we won’t be using the YubiKey Manager itself, but rather the
ykmanutility that will be installed with it.

- Download the appropriate SSL.com root and intermediate certificates for your document signing or EV code signing certificate. If your certificate was shipped on a FIPS 140-2 validated security key USB token from SSL.com, it will have an ECDSA key. For a certificate that has been enrolled in SSL.com’s eSigner cloud code signing service, it will have an RSA key. Check out our dedicated page for eSigner to learn more.
- Document Signing (RSA):
- Document Signing (ECDSA):
- EV Code Signing (RSA):
- EV Code Signing (ECDSA):
- Use the following command to navigate to the YubiKey Manager files:
- Windows:
cd "C:\Program Files\Yubico\YubiKey Manager"
- macOS:
$ cd /Applications/YubiKey Manager.app/Contents/MacOS
- On Linux (Ubuntu), the
ykmancommand will already be installed in yourPATH, so you can skip this step.
- Windows:
- Use these commands to install the root and intermediate certificates you downloaded in step 2 on slots 82 and 83 of your YubiKey. Replace the values in ALL-CAPS with the paths to the certificates you downloaded. Take note that the text .pem should be included in the file name. If you are prompted for the management key after entering the command, place the value of your management key. You can use the default management key in case you have not changed it. (If you need to install more than root or intermediate, you may use any YubiKey slot from 82 through 95.)
- Windows:
./ykman.exe piv import-certificate 82 "PATH\TO\ROOT\CERTIFICATE.pem"
./ykman.exe piv import-certificate 83 "PATH\TO\INTERMEDIATE\CERTIFICATE.pem
- macOS:
$ ./ykman piv import-certificate 82 /PATH/TO/ROOT/CERTIFICATE.pem -m MANAGEMENT-KEY
$ ./ykman piv import-certificate 83 /PATH/TO/INTERMEDIATE/CERTIFICATE.pem -m MANAGEMENT-KEY
- Linux (Ubuntu):
$ ykman piv import-certificate 82 /PATH/TO/ROOT/CERTIFICATE.pem -m MANAGEMENT-KEY
$ ykman piv import-certificate 83 /PATH/TO/INTERMEDIATE/CERTIFICATE.pem -m MANAGEMENT-KEY
- Windows:
ykmanwill not produce any output to let you know when the certificate was installed, but you can confirm the installation withykman export-certificate. For example, the following commands will display a text format of the certificate in slot 82 to the standard output. To further verify, you can open the downloaded root and intermediate certificates using a text editor like Notepad and compare if these are the same with the text version displayed after entering the command on ykman.- Windows:
.\ykman.exe piv certificates export 82 -
- macOS:
./ykman piv export-certificate 82 -
- Linux (Ubuntu):
ykman piv export-certificate 82 -
- Windows:
- After installing these certificates on your YubiKey, your code and/or documents will be signed with a complete chain of trust, so you will not experience trust issues on computers that are missing the intermediate in their trust stores. Note that you may need to disconnect the YubiKey from your computer and reconnect it for the changes to take effect when signing.